
Are you new to Cricut Design Space and wondering how to crop on Cricut software? You are in the right place. Cropping images is a fundamental skill that can help you create personalized designs and projects. In this blog, I will guide you in cropping an image, making it simple even for those just starting.
Cropping is an important process because it removes unwanted parts or elements from an image and can bring the viewer’s attention to a specific part of it. There are methods to crop an image, and you can discover them as you proceed with the blog. So, what are you waiting for? Let’s get into it!
Step 1: Import Your Image
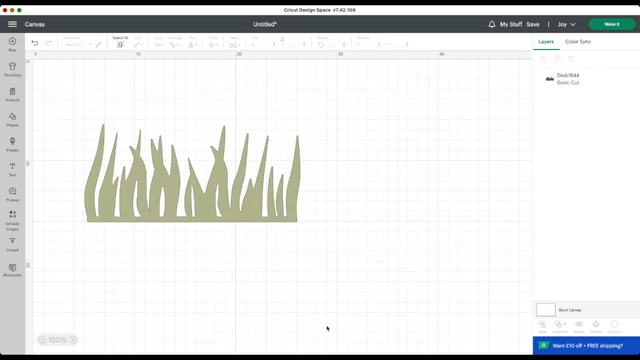
Launch the Design Space and put your desired image on the empty canvas. For this tutorial, you will be using a basic image of grass, which you can find in downloadable SVG packages or create yourself.
Step 2: Add a Shape

Next, you must add a shape to determine where your image will be cropped. The shape you choose will serve as a guide for the cropping process. While a square works well for most images, you can also use shapes like triangles or circles for different effects. After that, enlarge the shape and position it over the part of the image you want to crop.
Step 3: Select Both Images
Now, click and drag to select both your SVG image and the shape you have added.
Step 4: Using the Slice Button
In the Cricut Design Space app, click on the bottom right corner of your screen and select the Slice button. The Cricut Design app will remove the part of the image hidden by the shape. You will have two parts: the cropped portion and the other unwanted part of the shape.
Step 5: Delete Unwanted Elements
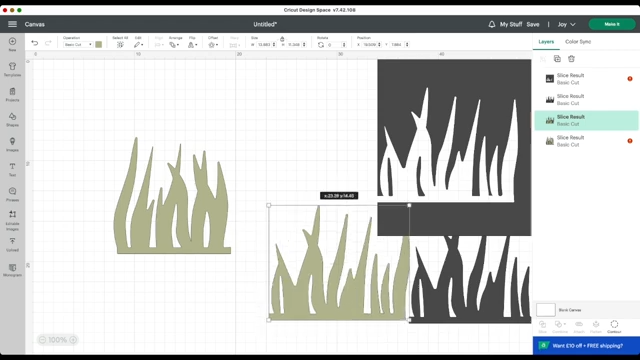
With both parts selected, hit the Delete key on your computer keyboard. This will remove the unwanted portion of an image, leaving you with the cropped version. You can resize this cropped image if needed or make it perfect for other projects.
How to Crop an Image Using the Subtract Tool?
Another method for cropping is using the Subtract tool. You will find this tool in the Combine menu, which you can use to crop an image. This process removes the front image from the back without removing another image and other shapes. This feature can be used not just for your image but also to cut words or designs. Follow these steps:
- Import the image into the workspace and add a shape to determine the cropping area.
- Select the image and the shape designs by dragging the mouse over them using the shift+ click.
- After that, click the Modify tool menu on the right-side panel and then click the Subtract tool.
- You can also click on the Object menu on the screen, then click on the Modify and Subtract tool to delete unwanted elements and crop the image.
Advanced Cropping Technique Using the Contour Feature
Here is an advanced method on how to crop on Cricut Design Space:
Step 1: Ungroup Complex Images
First, ungroup your image, then use the contour feature for more complex images or specific elements needing removal. This technique is helpful when removing an exact shape or portion from a complex design.
Step 2: Use the Contour Feature

Afterward, select the images and click Contour in the bottom right-hand corner. Then, click on the elements you want to hide or remove from the image. If you click on them, it will disappear as you click on them.
Step 3: Resize the Image
Once you have hidden the image and removed the unwanted elements, you can resize and crop it accordingly.
Some Tips for Cropping Images in Cricut Design Space
To crop an image in the Cricut Design application, follow these steps:
- To crop an image, you can add a shape to determine where to crop.
- Select both the image and the shape you want to use for cropping.
- Keep in mind when you are cropping an image that the layer you are using to crop with must be at the top.
- After that, select both of your layers, then click on the Combine option, and choose Subtract.
Conclusion
Now you know how to crop on Cricut and explore other methods. The Cricut Design Space software allows you to make a design using a Cricut machine. It provides you with some other methods and techniques that you can use to crop an image, which is important and helps remove unwanted elements from your image. This allows you to focus on the most important part of the image. Hence, as a user, it depends on which method you choose to crop your image.
Frequently Asked Questions (FAQs)
How to use Guide feature to crop an image in Design Space?
To use the Guide feature to crop an image in the software, you can do the following:
- Firstly, highlight the shape that will contain the photo.
- Now, click on the Operation menu and choose Guide.
- The shape will be rounded as a pink outline.
- Make sure the shape is on top of the photo.
- Then, resize the photo to fit the frame and highlight the photo and the guide.
- After that, click Slice and delete the extra slices.
What is the Subtract tool?
A Subtract tool is a tool that removes one object from another or cuts one solid entity from another. It differs from the Slice tool because it can subtract multiple objects simultaneously. Subtracting multiple objects is easier and much easier than cutting a deal with all those extra pieces left over by the Slice tool.
Why do you need to crop an image?
You need to crop an image because it has many benefits, including removing unwanted background elements or people from the edges of a photo. Cropping an image can improve its composition, remove distractions, and draw attention to the main subject. However, cropping a large part of an image may reduce the resolution and the quality.